Cream Sauces and Gravies

Basic Recipe at bottom.

The first couple of times I made a cream sauces or gravy, I used a recipe. But now, unless the recipe is very specific, I don’t really need one. I taste and add as I go. Once you get down a few sauce skills, you will see how easy it is and make your own too!

The key to fantastic sauces and gravies is flavor, concentrated flavors.

When making my cream sauces and gravies, I like to error on the side of not enough flour vs too much. If you start with too much flour, you will have to dilute the sauce too much, thus making it too bland and kinda tasteless. On the other hand, if your sauce or gray seems to thin, all you need is a little more cooking time, which to the benefit of the sauce, adds more flavor.

What kind of flavor are you looking for? You will choose your ingredients for your gravy or sauce by the flavor profile you want to achieve. Is it Southwest or Asian? Is the sauce going to be sweet or savory? Knowing and prepping ahead of time comes in handy.

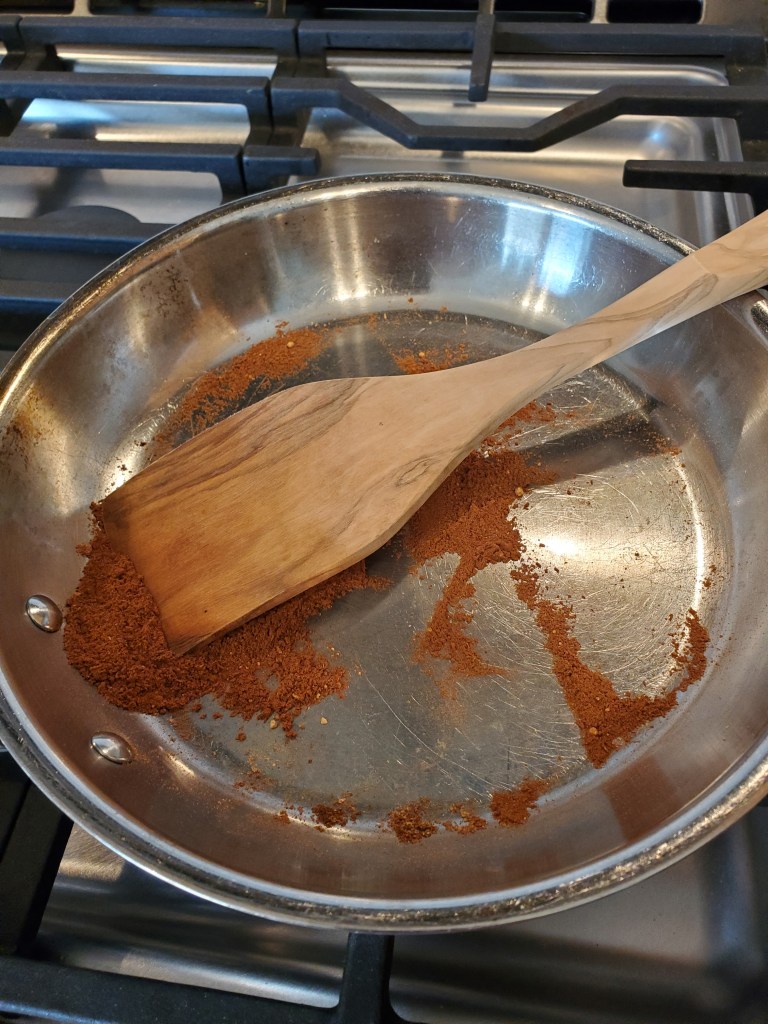
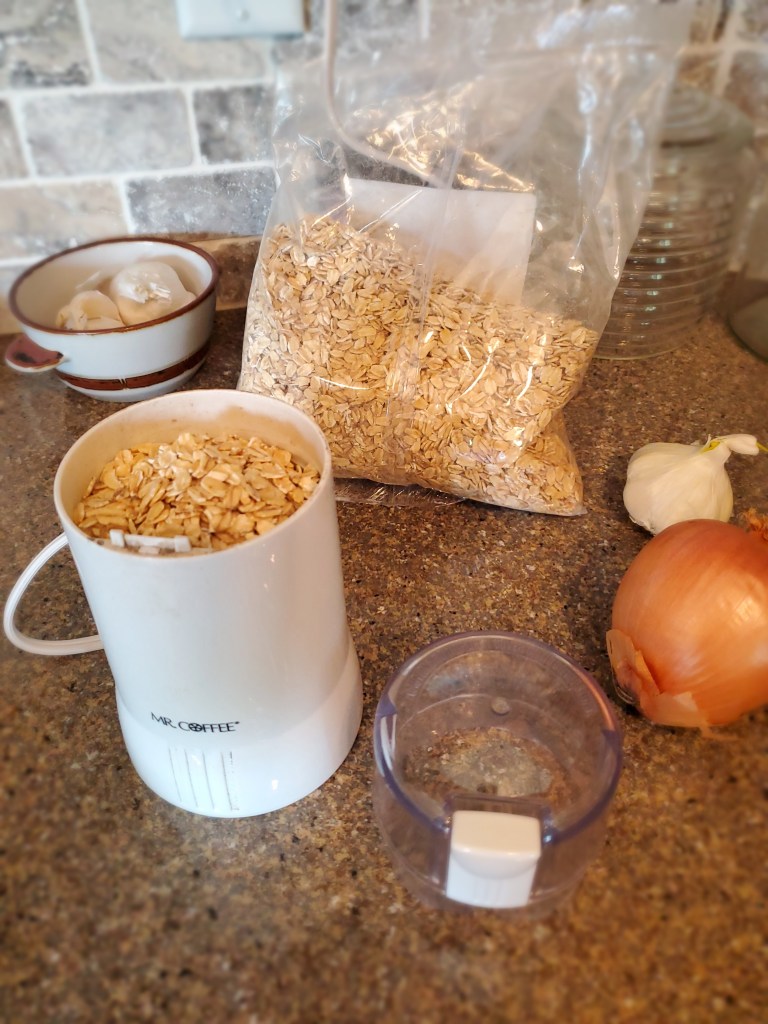
If you have been following me long, you know I highly suggest using organic spices and here’s why. If you don’t know if your spices are safe, contact the company. You can also buy whole and grind your own. I find an electric coffee grinder works perfect. (It’s best to have one set aside for just this purpose, you don’t want your coffee tasting like Cumin!) Below is a list of ingredients I routinely use in sauces and gravies.

Herbs

  • Thyme
  • Rosemary
  • Basil
  • Oregano
  • Marjoram
  • Tarragon
  • Chives
  • Dill
  • Parsley

Spices

  • Black Pepper
  • Cheyenne Pepper
  • Cumin
  • Paprika
  • Chili Powder
  • Garlic Powder
  • Onion Powder
  • Curry
  • Turmeric
  • Paprika
  • Smoked paprika
  • Chipotle
  • Ginger
  • Coriander
  • Nutmeg
  • cinnamon
  • clove

Other ingredients

  • Salt
  • Vinegars
  • Sesame Oil
  • Onion
  • Garlic
  • Miso
  • Soy Sauce
  • Smoke flavoring
  • Lemon
  • Milk or Substitutes
  • Butter or substitutes
  • Cream or substitutes
  • Broth
  • Flour
  • Thickeners, corn or tapioca starch (Non GMO)
  • Fruits or fruit juice
  • Vegetables

A word of caution. Don’t use fresh herbs in the beginning cook of your sauces. They will inevitably turn the sauce or gravy a color you do not want it to be. The only exceptions I have found is thyme and dill. But to start with use dried herbs until you become more familiar with the ingredients. Save the fresh for the end process or a garnish. But by all means, once you feel comfortable start to experiment with flavors and fresh herbs!

Which is it, sauce or gravy? The answer is yes! Ha ha ha. Here is a great article that talks about the two. Whether you call it gravy or sauce the big question is, what are you using it for? Will it be a pasta sauce, a gravy for a meat or mashed potatoes or a drizzle or ladle for the top of a dish? Each one has it’s own characteristics and purpose. I have found some gravies and sauces need a thickener, and pasta sauces usually don’t. The flavors in a drizzle or ladle sauce are more concentrated and thus take longer to prepare (But oh, how it’s worth the wait) In this post we will cover your basic cream sauces and/or gravies. For a drizzle or ladle sauce/gravy find it here. Pasta sauces will be covered individually.

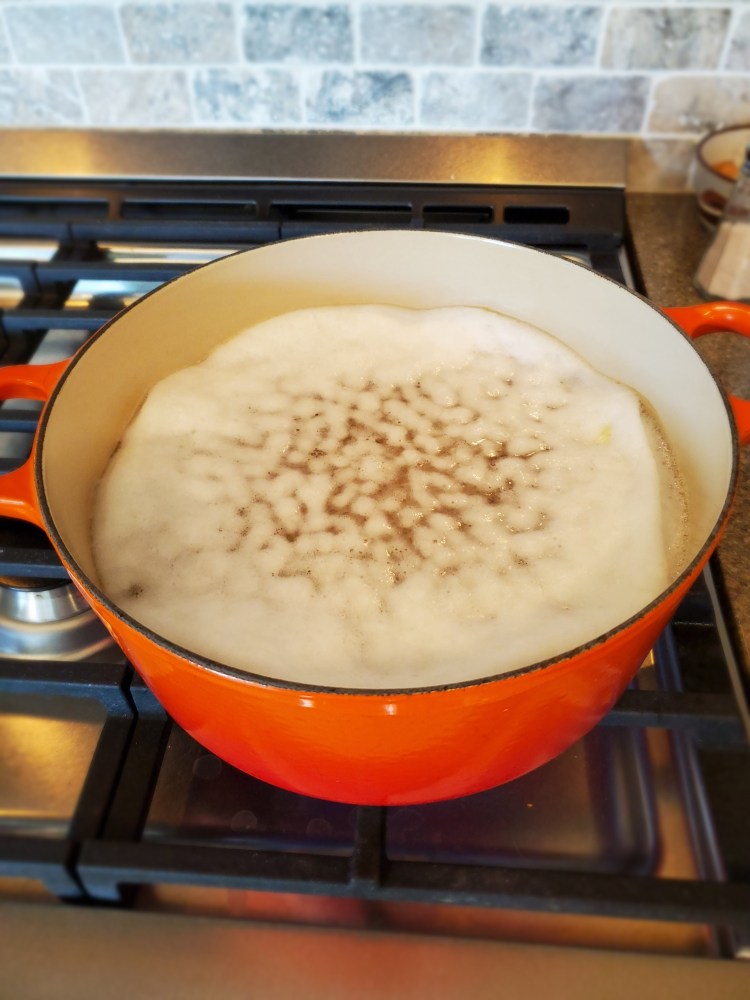
The basic cream sauce or gravy starts with a roux. (Equal parts fat and flour) Here is a guide for making Roux.

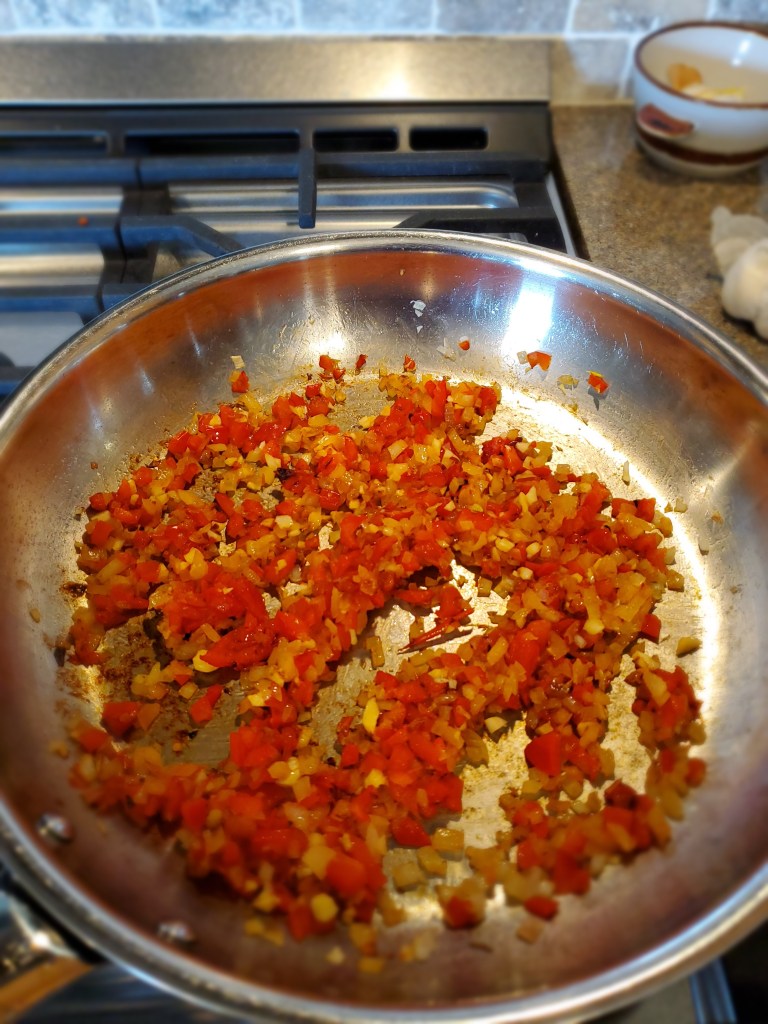
If I am using fresh onions, garlic or peppers. I saute them in the oil/butter first before adding flour. I add the salt and what ever spices and/or herbs I will be using after my liquid has diluted my roux. If you want a more intense flavor, more liquid and a longer cooking time will be needed.

Recipe for basic pepper cream sauce/gravy

In a pan or skillet make a roux. On med/low heat melt 1 Tbls butter or oil. Sprinkle 1 Tbls flour over melted fat. and stir to combine. Cook for 1 to 2 minutes, don’t over brown. Add milk or milk substitute a little at a time stirring constantly to work out lumps. Cook fora minute or two to see how thick it becomes. Continue to add milk and cook to desired thickness. *Note It’s easier to dilute than it is to thicken. If your sauce/gravy is too thin, DO NOT add more flour. (this will give your sauce/gravy a nasty uncooked flour taste) Either continue to cook on low to evaporate the liquid or just start over. As the gravy is thickening add 1/2 tsp pepper and salt to taste. Serve immediately. *Note If you are making this vegan, you may want to add some additional flavor i.e. garlic powder, soy sauce. This can be refrigerated for up to a week, but may need more liquid to smooth it out. Reheat in pan on stove top on low.

Sources: All Recipes, Difference between.com, Kitchen Stewardship

Pumpkin Pop Tarts with Maple Ginger Icing

An adult version on a childhood classic. We didn’t get pop tarts often, but my mom would get a box from time to time. I loved them toasted and would eat mine so slowly savoring every bite. Now that I’m grown, I can make them bigger and better.

I originally found this recipe on Delish, but didn’t quite like how it turned out or tasted. So like usual, I made adjustments. Now it is one of our favorites.

You will start with one of these pie crusts. Sure, you can buy pre-made crusts, but please don’t. They taste bad and are full of nasty stuff you don’t want to eat. After you have put your pie crust in refrigerator to chill, start making your pumpkin pie spice. You can buy pumpkin pie spice blend, but it tastes way better this way. Trust me. 😉

Ingredients for filling

  • I pie crust recipe above
  • 1 cup Pumpkin
  • 1/3 cup brown sugar
  • 1 tsp pumpkin pie spice
  • pinch or two of salt

Ingredients for Icing

  • 1 cup Powdered Sugar
  • 2 tsp maple syrup
  • 3 tsp hot water
  • 1 tsp vanilla
  • 1 tsp cinnamon
  • 1/4 tsp ginger
  • pinch of salt

Mix pumpkin, brown sugar, salt and pumpkin pie spice in a bowl until well combined. Set aside and retrieve the chilled crust from fridge. This recipe makes 8 Pop Tarts.

brown sugar and pumpkin in bowl
Pumpkin and brown sugar mixed in bowl

Preheat oven to 375 and line a baking sheet with parchment paper. (save parchment to use later)

Pie dough cut in half
Pie crust dough on counter
Rolled out pie dough to 10 x 14"

Place chilled dough on a lightly floured surface. Cut dough in half, placing other half back in bowl. Shape half of the dough in the shape of a rectangle before you start to roll it out. While rolling stop periodically and reshape to rectangle. It should be about 1/8 thick and rectangle should be 14″ x 10″. If it it isn’t quite a rectangle, you can cut the edges to straighten it up. Then cut the rectangle in half, then in quarters.

The next step is to fill each small rectangle with about a tbls of pumpkin mixture. Placing it on one side of the rectangle. Spread it just a bit.

With some water, wet your finger and run it around the outside of the pumpkin mixture. Now fold over the dough to cover pumpkin. Using your fingers, press both sides together making sure it seals. Now with the tongs of a fork, go around the out side pressing edges together.

Dollop of pumpkin mixture on a piece of pie dough
Spreading pumpkin mixture on dough
Poptart being piked

Continue till all 8 crusts are filled and sealed. Carefully place pop tarts on lined baking sheet. With a toothpick or kabob stick. Make several holes in top of each pop tart, making sure not to poke through to the bottom.

Brushing almond milk on poptarts

Next brush egg white or Almond Milk over all pop tarts. Bake at 375 for 15 to 25 minutes or until tops are toasty brown. Remove from oven and cool on baking racks. While pop tarts are cooling make the icing. Mix all dry ingredients into small bowl, add maple syrup and vanilla first, then a little at a time add hot water till the icing is the consistency you prefer. Place all pop tarts back on parchment paper laid out on counter. (I like to minimize waste) Once completely cooled drizzle icing over the tops of pop tarts. Let sit until Icing is set.

Cooling poptarts
Bowl of powdered sugar and cinnamon
Cooled and iced pumpkin poptarts

Family and friends alike will sing your praises once they have tried this flaky fall favorite. They’ll be asking for more. Thanks for stopping by and let’s get cooking!

Cheers, Kristy

*Adapted from Delish.com

Pumpkin Pie

Who doesn’t love pumpkin pie, right? Pumpkin pie is not only delicious but very nutritious.

Sure you can use canned pumpkin, but why when making your own is so easy?

The best pumpkins to use in pie are called sweetie pie pumpkins or sugar pie pumpkins. These pumpkins are usually under 10 pounds, and often get a sticker designating them as “pie pumpkins.” Any sugar pie pumpkin works well in recipes.

How to make pumpkin puree’ in the oven or Instapot.

Oven Method

  • Wash then cut the pumpkin in half and discard strings and seeds.
  • In a shallow baking dish, place the two halves face down and cover with foil.
  • Bake in a preheated 375 degrees F (190 degrees C) oven for about 1½ hours for a medium-sized sugar pumpkin, or until tender. (Fork goes in easily)
  • Once the baked pumpkin has cooled, scoop out the flesh and purée or mash it. I like using my blender for this….But you can use a food processor or just an old fashioned potato masher.

Instapot Method

  • Wash the pumpkin

There are a few Heirloom varieties, but they are hard to find and are quite large and cumbersome to use. If your a purest though, you might want to search them out. the other option is canned pumpkin which works well when you are strapped for time. Canned pumpkin has it’s own problems as well. Which to buy, organic or non organic?

Cans of pumpkin

Well if you know me or have been following me long, you know I always use and suggest buying organic for many reasons. But here is an article highlighting the differences in conventional vs organic. Then there is the argument if canned pumpkin is indeed pumpkin. This Article talks about that issue. My parents used a certain squash in our pumpkin pies growing up. There was a difference, but not that the average person could tell. I use either canned or fresh pumpkin depending on the recipe.

The next subject is the spices. Sure you can buy store bought spices, in fact many companies make a pumpkin pie spice blend. But before you go out and buy one of those, read this first.

What makes pie a really fantastic pie is the crust. My favorite Pie Crust recipe is found here. Next are the other ingredients. If you are not vegan you can use canned milk and eggs, but if you are plant based your recipe will be slightly different. The recipes below cover both and are equally delicious and will have your guests asking for more. Sorry these recipes are not gluten free, but can easily be made that way.

Conventional Pumpkin Pie

Filling

  • 1 (15-oz) can pumpkin or 1-3/4 cups freshly prepare pumpkin, cooled and pureed.
  • 1 large egg
  • 3 large eggs yolks
  • 1/2 cup granulated sugar
  • 1/2 cup light brown sugar, packed
  • 2 tablespoons all-purpose flour
  • 1/2 teaspoon salt
  • 3 tsp pumpkin pie spice found here
  • 1-1/4 cups evaporated milk

Directions:

  • Make the Crust found here.
  • Preheat Oven to 375F
  • Have your pie shell ready. Take the dough out of the refrigerator (if it was in the fridge for a long time, let it sit on the countertop for 10-15 minutes so that it’s malleable enough to roll). Dust your work surface lightly with flour and place the dough on top; sprinkle a little flour over the dough. Use your hands to quickly work the dough into a smooth disc — don’t over-work it or warm it up too much, it becomes tough, just smooth the edges as best as you can so it’s easier to roll. Roll the dough, adding more flour as necessary so it doesn’t stick. Roll it into a 13-inch circle to fit your pie plate with some hanging over. Carefully drape the dough over the rolling pin and transfer it to a 9-inch deep dish pie pan (it should be at least 1-1/2 inches deep). Gently fit the dough into the pan, easing it inwards rather than stretching it outwards. Don’t worry if it tears, just patch it right back up. Trim the edges to 1/2-inch beyond the lip of the pie pan. Turn the edges over to create a rim on the crust (you can use the scraps to patch in any thin areas or make beautiful leaves to add to crust or on top of pie.) then press the rim against the lip of the pan, forming it into an even edge as you go. Using your fingers, crimp the rim or use the tongs of a fork to press to make a design and seal it. Place the crust in the freezer for at least 15 minutes while you heat the oven.
  • Remove the pie crust from the freezer and place on a baking sheet (this makes it easy to move in and out of the oven). Cover the crust with a piece of parchment paper and fill it about halfway full with dried beans or pie weights. Bake for 20 minutes. Take the crust out of the oven; remove the parchment paper and beans/pie weights, then cut strips of aluminum foil to tent the edges of crust. This will protect the edges from getting too dark. Bake for another 20 minutes, until the dough is dry and golden. Don’t worry if the bottom puffs up; just press it down gently with a flat spatula, such as a pancake turner, taking care not to puncture it. Remove the foil
  • Reduce the oven temperature to 325°F.
  • Make the Filling for pie. Recipe above. Whisk together all of the ingredients in a large bowl. Pour the filling into the pre-baked crust.
  • Bake the pie for 50 to 60 minutes, until the filling is just set. It should look dry around the edges and the center should jiggle just slightly. Watch that the pie crust doesn’t seem to be browning to quickly. if so, place the foil tents over the edges once more. Cool the pie on a rack (leave it on the baking sheet) to room temperature, a few hours. Slice or refrigerate until ready to serve.
  • Note: I don’t recommend it, but If you have to use a store-bought crust, follow the instructions on the package for blind baking.
  • Pumpkin pie can be made one day ahead of time and refrigerated.
  • Serve with home made organic whipped cream. If you’ve never made homemade whipped cream, store bought will work in a pinch.

Vegan Pumpkin Pie

Filling

  • 1 15oz can pure pumpkin or 1 3/4 cup freshly prepared pumpkin, cooled and pureed.
  • 3/4 cup full-fat coconut milk (the kind in a can, shaken well before measuring)
  • 1/2 cup brown sugar
  • 1/4 cup cornstarch
  • 1/4 cup maple syrup
  • 1 teaspoon vanilla extract
  • 3 tsp Pumpkin Pie Spice found here.
  • 1/2 teaspoon salt

Directions:

  • Make the crust fond here.
  • Preheat oven to 375F
  • Have your pie shell ready. Take the dough out of the refrigerator (if it was in the fridge for a long time, let it sit on the countertop for 10-15 minutes so that it’s malleable enough to roll). Dust your work surface lightly with flour and place the dough on top; sprinkle a little flour over the dough. Use your hands to quickly work the dough into a smooth disc — don’t over-work it or warm it up too much, it becomes tough, just smooth the edges as best as you can so it’s easier to roll. Roll the dough, adding more flour as necessary so it doesn’t stick. Roll it into a 13-inch circle to fit your pie plate with some hanging over. Carefully drape the dough over the rolling pin and transfer it to a 9-inch deep dish pie pan (it should be at least 1-1/2 inches deep). Gently fit the dough into the pan, easing it inwards rather than stretching it outwards. Don’t worry if it tears, just patch it right back up. Trim the edges to 1/2-inch beyond the lip of the pie pan. Turn the edges over to create a rim on the crust (you can use the scraps to patch in any thin areas or make beautiful leaves to add to crust or on top of pie.) then press the rim against the lip of the pan, forming it into an even edge as you go. Using your fingers, crimp the rim or use the tongs of a fork to press to make a design and seal it. Place the crust in the freezer for at least 15 minutes while you heat the oven.
  • Remove Pie Crust from freezer and place on a baking sheet (this makes it easy to move in and out of the oven). Cover the crust with a piece of parchment paper and fill it about halfway full with dried beans or pie weights. Bake for 20 minutes. Take the crust out of the oven; remove the parchment paper and beans/pie weights, then cut strips of aluminum foil to tent the edges of crust. This will protect the edges from getting too dark. Bake for another 20 minutes, until the dough is dry and golden. Don’t worry if the bottom puffs up; just press it down gently with a flat spatula, such as a pancake turner, taking care not to puncture it. Remove the foil
  • Reduce oven to 350F
  • Add the pumpkin, coconut milk, brown sugar, cornstarch, maple syrup, vanilla extract, pumpkin pie spice and salt to a blender or a large bowl. Mix well. ( I like whisking by hand.
  • Pour the pumpkin mixture into the pie crust. Use a spatula to spread the pumpkin evenly and smooth out the top. Reduce the oven to 350f Bake for 55 to 60 minutes or until the filling is just set. It should look dry around the edges and the center should jiggle just slightly.. If you notice the edges of the crust getting to dark, place the aluminum tents over the edges. When done, let cool, and then chill in the fridge for a minimum of 4 hours or until completely set. Serve plain or with Vegan whipped cream. Coconut whipped cream recipe found here.

I hope your friends and family enjoy these recipes as much as we do around here. If you make one of them, can you leave me a comment? Thank you, and as always Enjoy, and

LET”S GET COOKING!

Kristy

Sources and adapted: *Doesn’t taste like chicken *Once upon a chef

©Copyright All Rights Reserved

Pumpkin Pie Spice

Spices and seasoning are an a crucial part of cooking and baking. Without them, food can be bland and unremarkable. But the addition of just the right combination can have a profound effect on your dishes and make the just okay into spectacular!

Who doesn’t love pumpkin pie, right? The key to a pumpkin pie vs a pumpkin pie that will be seared in the memories of all who eat it is the ingredients. For the sake of time and the title 🙂 we will focus on the spices.

Sure you can use store bought jarred spices. You will get a pumpkin pie that tastes okay, but why just okay when you can make it remarkable? An experience that will leave the tasters dreaming about your pie for years to come. To begin with you need great spices. Here in the US they are allowed to irradiate and do other nasty things to the spices sold commercially. To avoid this please check with the manufacture to see if they indeed irradiate theirs. I love Simply Organic because they have high quality standards, and have exceptional quality spices.

When choosing spices, you can go with a high quality spice from the store or a whole spice and grind it yourself. The difference is taste. No different than using fresh sage or rosemary vs dried. You loose a little taste. ( I kinda do a combination of both, as ginger is really hard to have whole and dried 😉 My preference is to use whole and grind mine with a coffee grinder or a spice grater, but sometimes I am use jarred. Regardless of which of the two applications you use, you will want to toast them. Yes, toast them. Trust me, do a taste comparison. Make two pies, one with un-toasted spices and one with. Your jaw will drop. I’m seriously all about good tasting food! To toast your spices before use , place them on a tray in a toaster oven or in a stainless steal pan. Low and slow is the key. You will need to watch closely. It doesn’t take much time, but is truly worth the effort. About 2 to 4 minutes is all. I use a stainless steal skillet on Med. Stirring the spices the whole time. When you start to smell the spices strongly your done. Remove from heat and remove spices from pan. If the spices got to dark or burnt, DON’T use them, start over.

Ingredients for Pumpkin Pie spice

Pan toasting spices for pumpkin pie
  • 4 tsp Cinnamon
  • 2 tsp Ginger
  • 1 tsp Nutmeg
  • 1/2 tsp clove
  • 1/2 tsp all spice (most other pumpkin pie spice recipe omits this spice, but I adore the depth of flavor it gives my pie) This recipe is for 2 pies and leaves a little extra for other dishes.

Now your spices are ready for pie or whatever other dish you are making with pumpkin pie spice.

I hope you enjoy this recipe, and please let me know what you think and if you used it, how it turned out.

Cheers, Kristy

©Copyright 2020 All Rights Reserved

Make Your Own Veggie Burgers at Home

I get it, pre-packaged vegan burgers are quick and easy, but they are also expensive and loaded with chemicals and stuff you really don’t want to eat. I don’t remember when I stumbled across this recipe, but have done some tweeking and made some changes to it. This recipe may be hands down my favorite burger recipe. You can bake, fry or even grill these babies (which I do) I’ve also seen people put cooling racks on top of their burgers when they bake them to add grill marks. You can change this recipe up a bit adding different herbs, spices and veggies once you’re familiar with it. Ours today will be black bean and roasted red peppers. Once cooked, these beauties freeze really well just waiting for your next burger night.

Cans of black beans sitting on counter

First thing you want to do is get some prep out of the way. Preheat oven to 350. open, drain and rinse beans. Pat as dry as possible. Place beans on lined cookie sheet and bake 10 to 20 minutes. (The key to great burgers is dry beans, lol) Set aside.

Baked blackbeans sitting on sheet

  • 14oz cans of Black Beans. (After you are familiar with the recipe, you can mix it up with different beans. You could always make your own as well, but for time sake we will use canned.
  • 1 Red Pepper Roasted
  • 1 Medium Onion
  • 3 to 4 Cloves of Garlic, minced or chopped small.
  • 1 Tbls Oil
  • 2 Tbls tomato paste
  • 1 3/4 tsp cumin
  • 1 tsp chili powder
  • 1/2 tsp garlic powder
  • 1/2 tsp onion powder
  • 1/2 tsp smoked paprika
  • 1/4 tsp Chayenne pepper(Optional
  • 1/2 tsp red pepper flakes (optional)
  • 1/2 cup oatmeal
  • 2 eggs or 4 Tbls potato startch and 6 Tbls of water if Vegan
  • 1/2 cup feta (vegan or not) Optional
  • Salt and Pepper to taste

Meanwhile wash your red pepper, half it and clean it out. We are going to roast it, and trust me, you don’t want to miss this step. You can use a toaster oven, a air fryer or the broiler in your oven. For a quicker roast time, place cut side down on a broiler pan. Roast until it is soft and has char bubbles starting to manifest. Time varies depending on which oven you are using. Don’t worry though, if it gets a little burnt, YAY! more flavor!

Oatmeal in a Coffee grinder

Next we’re going to grind our oats. you can use oat flour, but why when it’s better and cheaper to do it yourself. I use a coffee grinder to do this. I have 4 coffee grinders in my home and only one is for coffee. :D. Using the grinder, grind the oats till it looks like course flour. I like to leave a little for texture.

Here’s what makes a good burger, GREAT! Toast your spices first! Place the cumin, chili powder, smoked paprika, as well as the red pepper flakes and chayenne pepper if your using them. in a small pan or on a tray in your toaster oven. Low is key, you don’t want to burn the spices, only toast them to release oils and more flavor. If you do burn them, just start over or don’t toast them, but for Gods sake, never use them burnt. set aside.

Sauteed onions and red pepper

Next finely chop your onions and garlic. Chop your roasted pepper into the same size as your onions. Heat skillet with oil on med heat. Place onions and pepper in pan and saute till almost done. Add garlic and saute another 5 minutes. Blot out as much moisture as possible. set aside to cool.

If you are vegan, this is a good time to mix the potato starch and water together. (Egg substitute.) I have found that this application works best in vegan meatballs, meatloaf and burgers.

In a food processor combine sauteed veggies, spices, salt and pepper, oat flour, eggs/or sub, tomato paste, half the cheese and half the beans. Pulse till it combines. Next add the second half of cheese and the other half of beans. Pulse just a couple times to break down. We want there to be chucks of bean and cheese.

Once it’s all combined preheat oven to 375 and line a baking sheet.

Scoop about a 1/2 cup of bean mixture and pat into a patty. (I use a 3 inch round cookie cutter and fill it to the rim. This makes a beautiful well packed burger) Bake all patties a 375 for 10 minutes, then flip them and bake 10 more. The reason we bake them first, is it helps hold them together when frying or grilling. You can use them straight from the oven though if you wish. But I like to grill mine. If you’re planning on grilling them, Just make sure the grill and burger are both oiled well before grilling.

Home made burger buns

My veggie burger pictured here with cabbage apple slaw and on a home made bun. Recipes to follow.

If you try this recipe, let me know how you liked it. And as always, enjoy and let’s get COOKING!

Kristy

©Copyright 2020 All Rights Reserved

A Good Pie Starts with a Great Crust!

I learned most my cooking and baking skills by trial and error. Pie crust is no exception. Believe it or not, recipes used to be passed on down through families and friends. They weren’t readily available as they are today thanks to the internet, and sometimes treasured recipes were guarded and even taken to the grave. Truth! A dear older woman shared her pie crust recipe with me. She made some of the best pie around so I decided to give it a try. I found it challenging to roll the crust out and it didn’t quite work out as a crust so I decided to give it another try. I reasoned it would be easier if I used hot water. And boy was it! It rolled right out and went beautifully into the pie plate. I filled it and baked my pie. It was a lovely sight. I was having friends over for dinner and couldn’t wait to showcase this masterpiece. But when the time came to cut into it, the knife barley would cut through, and chewing it, well let’s just say I learned a valuable lesson that day.

The secret to a light flaky crust is temperature. Make sure to use cold fat, cold water and if possible, cold flour. Working with the cold ingredients is a little more challenging, however with a little practice you can do it.

  • Ingredients:
  • 2 cups flour 240g
  • 1/2 tsp salt ( I tend to use a tad more)
  • 2/3 cup fat 127g (I use Spectrum all vegetable shortening, the expeller pressed one.)
  • 7 to 8 Tbls Ice Water

Directions: In a bowl whisk flour and salt together. Add cold fat (I use a kitchen scale, put the bowl on and weigh out my fat. No Mess 🙂 *Note If you are weighing out your flour, you will probably need less water. Now with a pastry blender, blend until it resembles course crumbs. using a fork, add a couple Tbls of ice water at a time until the flour has been combined and dough is smooth, but NOT sticky. Do not over work the dough, it becomes tough. Shape dough into a ball, cover and refrigerate for 2 hours.It is now ready to use. This recipe makes dough for 2 crust pie or 8 hand pies. (recipes soon)

The yumminess you can make from this recipe is endless 😉 Have fun and let’s get cooking!

Cheers, Kristy

©Copyright All Rights Reserved

The Secret to Amazing Chickpeas

Chickpeas are a important source of protein and contain over 14 grams per cup. They are also a great source of fiber, vitamins and minerals. However, that being said, Chickpeas (any legume for that matter) are coated with a substance (protein) called lectin. Lectin is the legumes protective barrier from pests. Our digestive system has a hard time with lectins and can cause a variety of problems when consumed. That means, this beneficial protein dense food is also problematic. There is hope (trumpets)

Bowl of chickpeas

The humble chickpea is a nutrient dense powerhouse. And if you’ve been a plant based eater very long, you know it’s a regular staple in your diet. So what is it and where does it come from?

The chickpea or chick pea (Cicer arietinum) is an annual legume. It has different names and is known by different types. Gram or Bengal gram, Garbanzo bean and Egyptian pea.

The Egyptian pea was one of the first cultivated crops. The oldest remains were found in the Middle East and have dated back 7500 years.

Displaying Parboiled Chickpeas
Foam from Parboiled chickpeas

We can not only remove lectins, but also boost the nutrients found in this amazing food. Remember when mom or grandma would soak her beans overnight? I was told it was called de-gassing. (So you didn’t get gas) Gas is one of the body’s responses to lectins. Well come to find out soaking any legume softens the protective lectin on the bean. When cooked, the heat removes most the lectin. (pictured here) Walla! But wait, there’s more.

So how do we boost the nutritional benefits in the chickpea? I’m glad you asked. The key is sprouting! Yes sprouting your chickpeas. It’s easier than you think, but planning ahead is important because it takes an extra day or so. How does sprouting increase the nutrients? You start with a dried/dormant food and make it come alive. Once alive the food contains enzymes, vitamins and minerals it didn’t have in it’s dried state. Next I will give you step by step instructions on how to make your chickpeas the best they can be.

Sorted dry chickpeas
Soaking chickpeas
Water covered chickpeas

Start with 2 cups, or 16oz of dried chick peas. (I buy and recommend you buy organic if possible.) Rinse and sort them. Place them in a large bowl and cover them with double amount of water. cover the bowl and soak for 12 to 24 hours.

Bowl of chickpeas
Soaked Chickpeas

Drain and rinse. Once they have been drained and rinsed, Rince out the bowl you used to soak them in. Place chickpeas into this bowl. (Make sure to look at the peas so you can tell when they have sprouted.) Cover for 12 hours. They will have started to sprout at the end of 12 hours, however you can go another 12 if necessary. Chickpeas naturally have a small sprout tail. This sprout tail will become bigger and more pronounced when sprouted. (Pictured below.)

Sprouted chickpeas
Sprouted chickpeas
Displaying Parboiled Chickpeas
Foam from Parboiled chickpeas

Once sprouted, you will parboil your chickpeas. give the chickpeas a good rinsing and place them in a large pot. Cover them with water till about 2 inches over the chickpeas. Bring to a boil and boil 10 minutes. You will start to see foam rising to top. Scoop as much off as possible. After the 10 minutes. Drain and rinse the chickpeas once more. You have just removed most the chickpeas lectins and increased their nutrient bio-availability. Your chickpeas are now ready to cook for your favorite recipes.

I hope you enjoyed this post and I encourage you to do some more research on the subjects of lectins and sprouting. I have included links to articles I found helpful. And please follow me on FB for information and fun stuff I don’t share here.

Cheers, Kristy

Sources: https://en.wikipedia.org/wiki/Chickpea https://www.precisionnutrition.com/all-about-lectins https://www.medicalnewstoday.com/articles/280244#nutrition https://draxe.com/nutrition/sprout/ (here you won’t be making the whole sprout, just making come alive!)

©Copyright All Rights Reserved